We’re tackling solar lithium battery storage maintenance with a careful, step-by-step approach. We’ll start by logging baseline performance, then run a controlled discharge and full recharge to recalibrate, all while noting timestamps. A 30-minute safety check follows—clean terminals, secure terminations, good cooling, and a quick visual scan for corrosion or loose wires. If anything seems off, we isolate it and document actions. There’s more to refine as we proceed.
Key Takeaways
- Start with baseline performance metrics (capacity, SOC, voltage sag, temperature) and compare current data to detect deviations.
- Perform a controlled discharge and full recharge while logging cycle data for recalibration.
- Inspect enclosure integrity, wiring, venting, and labeling; tighten connections and verify safety interlocks before testing.
- Monitor for early warning signs (overheating, odors, swelling, leaks) and isolate the unit if anomalies appear.
- Maintain a formal maintenance schedule with timestamps, documentation, and professional review for persistent deviations.
Foundations: How Lithium Storage Works for Solar Setups
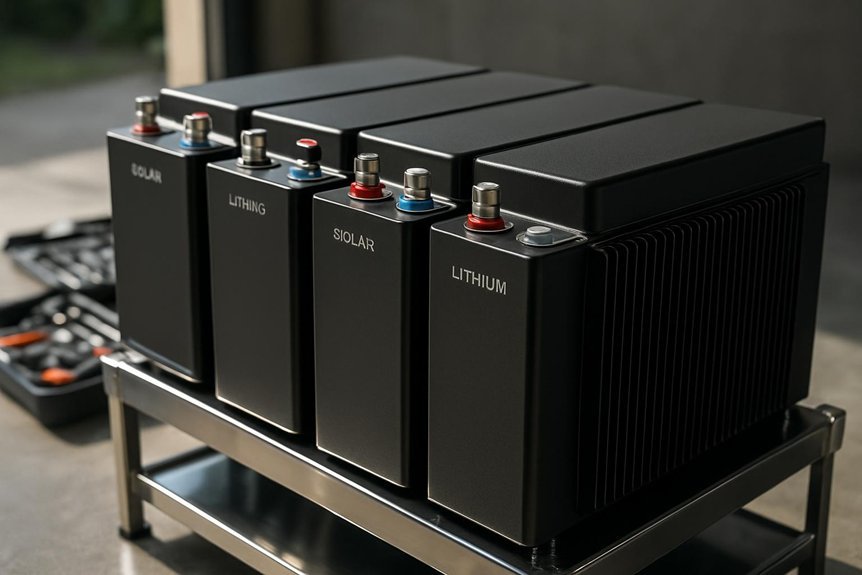
Lithium storage in solar systems stores energy in rechargeable cells that charge from your solar array and discharge to your loads or the grid when needed, with a Battery Management System (BMS) actively monitoring voltage, temperature, and state of charge. We start with foundations overview: how chemistry and cells translate sunlight into usable power, and how protection layers prevent overcharge, deep discharge, and thermal runaway. System components include the battery bank, BMS, inverter, charge controller, and cabling, all coordinating through clear operating modes. We emphasize safe installation, proper venting, and robust enclosure design. Understanding how modules connect in series or parallel helps predict voltage and capacity. We document standard labeling, access paths, and maintenance touchpoints so you can verify performance without disrupting safety or warranties.
How to Start Maintenance Today: a 30-Minute Home Check
We’ll start our 30-minute home check with a quick visual inspection to spot any signs of wear, corrosion, or leaks in the battery housing and wiring. We’ll then verify battery cleanliness and tighten any loose connections, documenting anything unusual for later maintenance. Finally, we’ll confirm all terminations are secure and test accessibility, ensuring the system remains safe and ready for a deeper check if needed.
Visual Inspection Checklist
Could a quick visual check reveal the most common issues before they escalate? We approach this visual inspection with a steady, methodical rhythm. We start at the system exterior and work inward, noting any loose mounting, exposed wiring, or damaged insulation. We document obvious visual cues like swelling, discoloration, or corrosion on terminals, connectors, and enclosures. We verify cable ties are intact and labeling is legible. We check for heat marks or unusual smells after a brief test run, keeping hands away from live components. We reference our maintenance schedule to ensure checks occur at planned intervals. We photograph or log findings, then prioritize next steps: tighten, replace, or consult. Safety is paramount; never bypass precautions.
Battery Cleanliness Check
Is it worth starting today with a clean battery surface? Yes, and we’ll walk you through a precise 30-minute check. First, power down the system and wear eye protection and gloves. Wipe the exterior with a lint-free cloth lightly dampened with isopropyl solution, avoiding any moisture ingress. Inspect terminals for corrosion; if present, note it for the next step and gently brush away loose residues. Emphasize dust removal from vents, grilles, and cooling fins to prevent airflow restriction. Document any discoloration or streaking, which signals potential leaks or overheating. Recheck seals and enclosure gaskets after cleaning to confirm a tight, dust-free fit. Remember, cleanliness importance supports safe operation and accurate performance readings.
Connection Tightness Test
When we start today’s maintenance, a quick, thorough Connection Tightness Test ensures nothing shakes loose under operation. We systematically inspect all terminations and connections, listening for faint hums or vibrations that signal looseness. We confirm that cable ferrules and busbars sit firmly, then compare each fastener’s torque to the manufacturer’s torque specification. If anything is off, we adjust slowly with the proper tool, recheck alignment, and re-measure. We document any deviations for future servicing and remind ourselves that safe operation hinges on solid contact. Stay mindful of electrical isolation, PPE, and battery cooling during adjustments. Only proceed with connections when components are cool and power is isolated.
- Check terminal cleanliness and fit
- Verify torque specification and re-tighten as needed
- Record results and schedule follow-up checks
Inspect for Early Warning Signs and Safe Operating Conditions
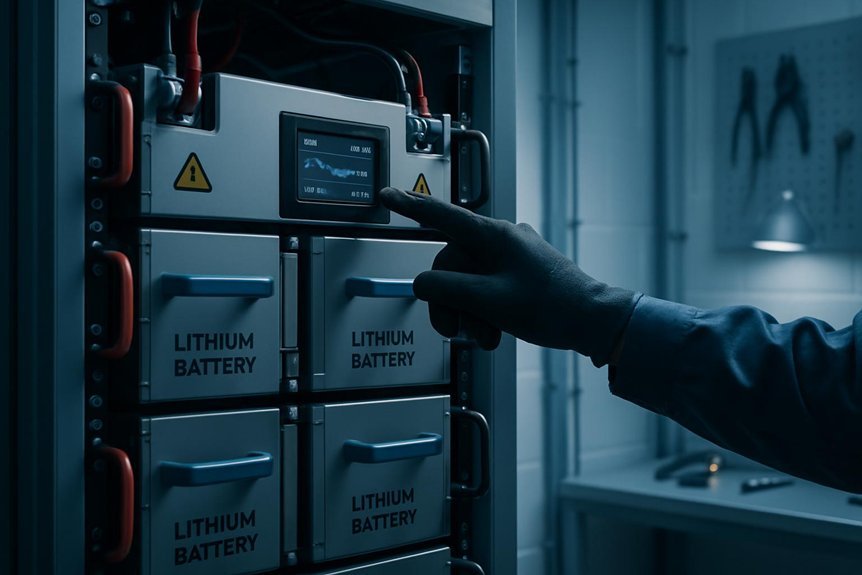
What early warning signs should we watch for, and what safe operating conditions must we maintain to prevent issues before they escalate? We monitor temperatures, odors, and physical changes daily, noting any cooling fan noise, blistering surfaces, or swelling. Slight warmth after use is normal, but persistent heat indicates a problem we must address immediately. Look for fumes, discoloration, or electrolyte leakage, and treat them as urgent warnings. Maintain proper ventilation, keep batteries away from flammable materials, and ensure pathways aren’t blocked. Regular inspection of connections for corrosion or looseness is essential, as is confirming airflow and ambient temperature stay within manufacturer guidelines. Prioritize insulation integrity and smoke prevention, cleaning dust and debris that could harbor sparks. If anomalies appear, isolate the unit and consult support before reuse.
Safe Charging and Discharging Practices for Longevity
We follow strict charging and discharging practices to maximize lithium solar storage longevity. We prioritize measured currents, balanced cell voltage, and proper sequencing to safeguard performance. We monitor state of charge to avoid deep discharge and overcharge, preserving capacity and safety. Safe charging and discharging longevity depend on consistent timing, appropriate chargers, and labeled settings that match the battery chemistry. We communicate clear limits for voltage, current, and temperature, and we enforce them at every cycle.
We follow strict charging and discharging practices to maximize lithium solar storage longevity.
- Use dedicated, calibrated chargers with correct profiles
- Avoid prolonged float charging and deep discharges
- Implement regular SOC checks and end-of-charge cutoffs
Temperature Management to Protect Capacity
Do we really manage temperature, or does temperature manage us? We approach temperature management with a methodical mindset, prioritizing safety and long‑term capacity preservation. We keep ambient and cabinet temps within recommended ranges, using ventilation, insulation, and drainage to prevent heat buildup. Our protocol includes monitoring probes, data logging, and alarms for excursions beyond safe limits. We adjust charging rates, discharge depth, and duty cycles to minimize thermal stress, especially during high load or extreme weather. We conduct routine inspections for airflow blockages, degraded seals, and cooling fan performance. We store batteries in shaded, well‑ventilated spaces and avoid rapid temperature swings. By adhering to disciplined practices, we uphold temperature management as a core element of capacity preservation and system reliability.
Keep Firmware and Monitoring up to Date
Keeping firmware and monitoring up to date is essential for safety and reliability. We commit to regular checks so firmware updates install cleanly, and monitoring alerts remain accurate. Our approach is deliberate: verify compatibility, back up settings, and test after each upgrade. You’ll notice improved fault detection, faster response times, and fewer false alarms when versions align with our system’s hardware. We document changes, schedule maintenance windows, and confirm notification delivery. If an alert triggers during an update, we pause automations and recheck cores before proceeding. Trust comes from disciplined practice: confirm power is isolated, use official packages, and validate data integrity post-install. Together, we keep performance steady and alarms trustworthy.
- Verify compatibility and back up settings
- Schedule maintenance windows and test after updates
- Document changes and validate alerts post-install
Battery Health Checks and When Recalibration Is Needed
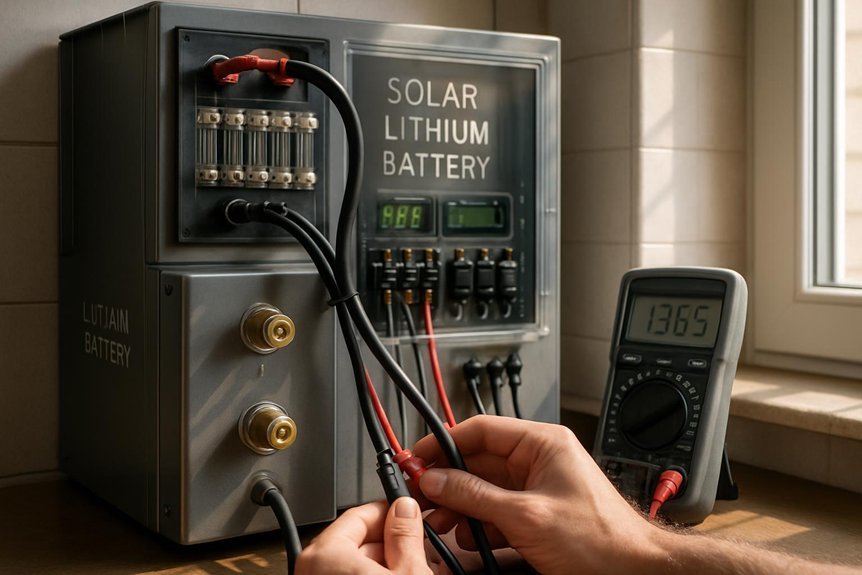
How can we tell when battery health is declining or when recalibration is necessary, and what steps should we follow to verify readiness? We begin with baseline metrics from the last calibration and compare current performance against those values. Check capacity, charging/discharging rates, voltage sag under load, and temperature behavior during operation. Look for erratic state-of-charge readings or alarms from the inverter or BMS. Perform a controlled discharge to a safe low SOC, then recharge fully while logging cycle data. If deviations exceed predefined thresholds, tighten the recalibration schedule and document the results. Verify safety interlocks, proper cooling, and connector integrity before tests. Maintain a formal recalibration schedule, timestamp results, and review with the system owner. Clear, repeatable checks reduce risk and preserve battery health.
Seasonal Maintenance Checklist for Homeowners
Seasonal maintenance isn’t a one-off task; it builds on our goal of dependable, safe operation by applying the same disciplined approach we use for health checks. As a team, we guide you through a concise, practical checklist that minimizes risk and maximizes uptime for your solar lithium storage. We address common solar battery myths and the DIY risks so you avoid costly mistakes. Our focus remains system integrity, safety, and performance, with clear steps you can follow without guesswork.
- Inspect enclosure integrity and venting, noting any corrosion or moisture ingress
- Test voltage, charge, and temperature sensors, and recalibrate if readings drift
- Verify wiring, fuses, and breakers are secure and labeled
Adhering to this routine helps prevent hidden failures and supports long-term reliability.
Frequently Asked Questions
How Do Solar Lithium Batteries Handle Long-Term Storage?
We handle long term storage by stabilizing voltage, maintaining safe temperatures, and inspecting regularly. We monitor battery chemistry balancing, protect against deep discharge, and follow safe off-grid procedures to preserve performance and extend life during storage.
Can Weather Affect Battery Performance Beyond Temperature Control?
Weather can affect performance beyond temperature control; storms, humidity, and corrosion risk stress our system. We steer with care, allegorically likening our grid to steadfast sailors, ensuring weather reliability guards storage longevity, and we proceed methodically for safety and reliability.
What Signs Indicate Imminent Battery Replacement Is Needed?
Signs of swelling and signs of sulfation indicate imminent replacement needs. We assess venting, temperature drift, and capacity loss, then isolate, ventilate, and document changes. We check connections, inspect case integrity, and pursue safe, measured battery subsystem replacement.
Do Warranties Cover Degraded Capacity Over Time?
We’re like a careful toolkit, and yes, warranties often cover degraded capacity, though terms vary. We’ll verify warranty coverage specifics, document capacity loss, and follow safety protocols to guarantee accurate, methodical handling and potential replacements.
How Often Should Users Recalibrate Monitoring Data?
We recalibrate calibration frequency every 3 to 6 months to maintain data accuracy, and after any system event. We’ll verify sensors, document results, and halt operations if readings deviate beyond safe thresholds for device safety.
Conclusion
We’ve walked through foundations, practical checks, and ongoing care, and we’ve kept safety at the core. By sticking to a methodical routine—baseline tests, controlled discharge/recharge, 30-minute safety checks, and daily vigilance—you’re building reliable, long-lasting solar lithium storage. Have you committed to documenting actions and tightening connections to spec? With consistent follow-through, you’ll protect capacity, manage temperature, and maintain safe operation for years to come.

