Like a compass guiding us through unfamiliar terrain, we’ll map your car’s battery needs and pick a compatible lithium starter that fits. We’ll verify group size, CCA, and RC, then assess fit, mounting, terminal orientation, and clearance. Together, we’ll plan load, peak current, BMS integration, and connector compatibility, followed by safe wiring, secure mounting, and proper fusing. We’ll charge, monitor, and maintain judiciously, ensuring every step protects you and your vehicle—and keeps you prepared for what comes next.
Key Takeaways
- Determine your vehicle’s battery specs (group size, CCA, RC) from manual or current label to ensure lithium starter compatibility.
- Select a suitable lithium battery type (LiFePO4, NMC, blends) with matching pack chemistry, BMS, and safety features for your vehicle.
- Verify physical fit (tray dimensions, terminal orientation, clearance, weight) and plan adapters/spacers if needed.
- Follow proper wiring procedures: correct polarity, torque specs, fused connections, vibration‑damping mounting, and secure routing.
- Implement ongoing monitoring and safety checks: voltage logs, terminal integrity, charging behavior, and adherence to manufacturer guidelines.
Determine Your Vehicle’s Battery Requirements
To determine your vehicle’s battery requirements, start by checking the owner’s manual or the label on the existing battery to note the correct group size, cold-cranking amps (CCA), and reserve capacity (RC). We’ll record these values with precision, then verify compatibility with our planned lithium starter battery. Next, we assess any unused concerns that might affect fit, such as mounting dimensions, terminal locations, and wiring clearances, documenting adjustments if needed. We also review the vehicle’s electrical load profile and starter current draw to ensure our chosen battery can meet peak demands safely. Finally, we examine warranty implications, noting coverage limits, replacement terms, and any required professional installation steps to preserve manufacturer guarantees. This disciplined approach minimizes risk and supports a reliable, compliant upgrade.
Choose the Lithium Starter Battery for Your Car
We start by matching lithium battery types to your vehicle’s needs, considering pack chemistry, cycle life, and recommended C-ratings. Next, we check size, fit, and connector compatibility to ensure a secure installation and proper clearance. Finally, we assess weight and safety features, such as built-in protections and venting, so you know what to handle and what to avoid during setup.
Lithium Battery Types
Choosing the right lithium starter battery boils down to our car’s requirements and your safety standards. We’ll compare lithium chemistries and how they impact performance, longevity, and charging behavior, guiding our selection with battery management considerations.
- LiFePO4: stable chemistry, excellent cycle life, lower energy density, steady temperature tolerance.
- NMC: higher energy density, compact size, faster charging, watch thermal management.
- LFP-NMC blends: balanced strength, improved safety, adaptable charging profiles.
- Solid-state prospects: future potential, highest safety, but availability varies by model.
We emphasize battery management at every step: proper charging limits, temperature monitoring, and compatible BMS integration. This ensures reliable starts, safeguards electronics, and extends life, so our choice aligns with both performance needs and safety requirements.
Size And Fit
We size your lithium starter battery by confirming the battery’s dimensions match our vehicle’s tray, cable terminal positions, and mounting points. We verify size compatibility with the manufacturer’s spec sheet and our chassis measurements before ordering. We measure length, width, and height, then compare to existing battery housing and hold-down hardware to ensure secure fit clearance. We also confirm terminal post orientation aligns with our wiring harnesses and clamps, avoiding interference with radiator hoses, fuse blocks, or bulkhead components. We document any adapters or spacers required for proper clearance. Finally, we test startup after installation to validate cranking demands are met without strain, and we record measurements for future reference.
Weight And Safety
Weighing the battery before installation guarantees proper balance and loads on the vehicle’s mounting and electrical system, and we’ll verify the lithium unit’s weight against the tray’s capacity and hold-down hardware. We approach weight and safety with precision, documenting each step to minimize handling concerns and prevent accidents. Our checks ensure compatibility with ground clearance, cable routing, and venting requirements, while we maintain a clear record of any deviations.
- Assess overall weight to confirm tray and strap/bolt tolerance aligns with the battery’s specification.
- Inspect handling concerns, using correct lifting technique and PPE to avoid injury.
- Confirm secure mounting, proper torque, and vibration damping.
- Verify clearances around terminals, vent plugs, and surrounding components before test-start.
Gather Tools, Safety Gear, and Prep Your Workspace
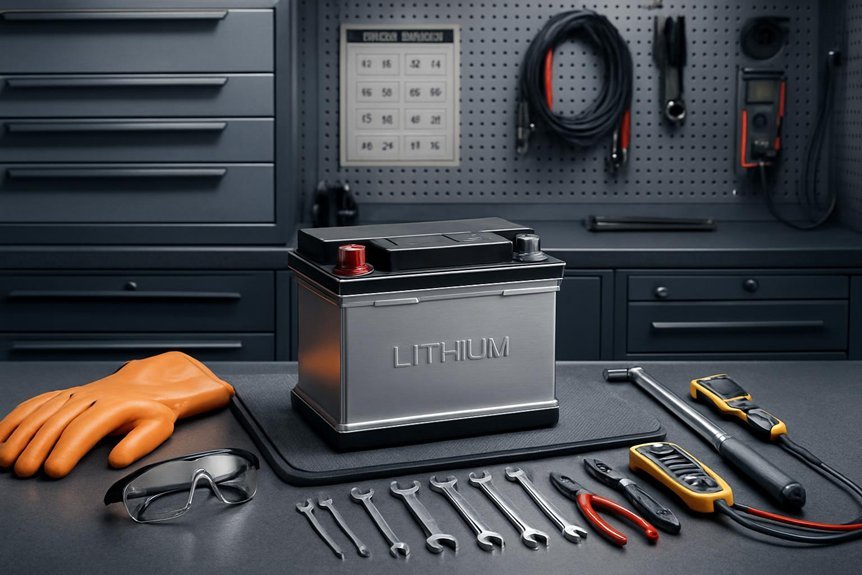
To start, we’ll gather the essential tools, safety gear, and a clean workspace before touching the car’s electrical system. We approach this step with precision: we list the required tools, confirm battery compatibility, and organize components within arm’s reach. We’ll gather tools that are non-sparking and insulated where possible, avoiding metal jewelry and loose clothing. For safety gear, we equip gloves, eye protection, and a spark-proof mask if needed, and ensure a fire extinguisher is accessible. We perform workspace prep by cleaning the area, removing debris, and shading the battery from direct sunlight. We establish a clear workflow, label connections, and verify a dry, well-ventilated environment. This careful prep minimizes risk and supports a smooth installation process.
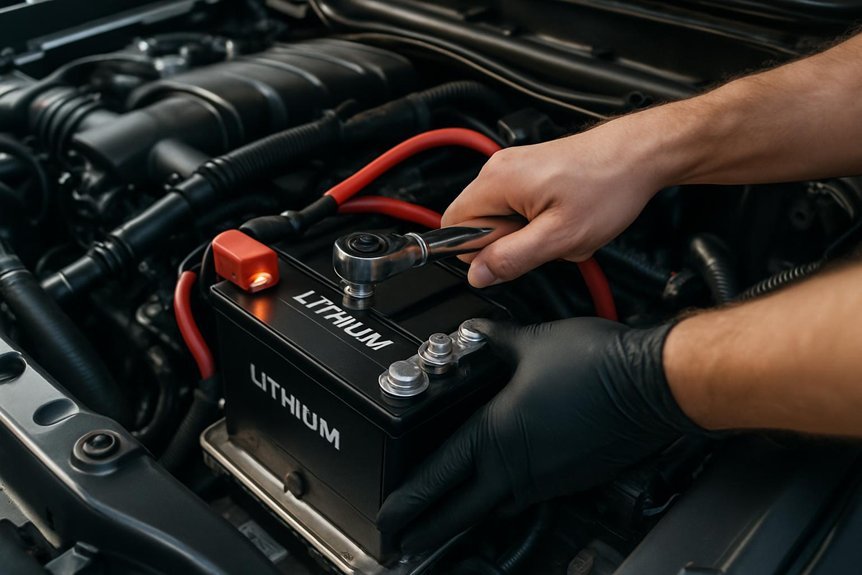
Wire the Battery: Positive, Negative, and Fuses
Next, we wire the battery by connecting the positive and negative terminals in the correct order and installing the appropriate fuses. We follow a clear sequence to ensure safety and reliability, using proper wire gauge and fuse types for the load. We inspect paths to avoid pinch points and heat buildup, then connect terminals tightly and reseat insulating covers.
Next, wire the battery with correct polarity, proper gauge, and appropriate fuses, then secure terminals and reseat insulation.
- Verify polarity before any connection, then attach the positive lead first.
- Tighten all terminal nuts to the manufacturer’s torque spec.
- Choose fuse types appropriate for the circuit and install within the line proximity.
- Recheck insulation, routing, and conductors for secure, vibration-free alignment.
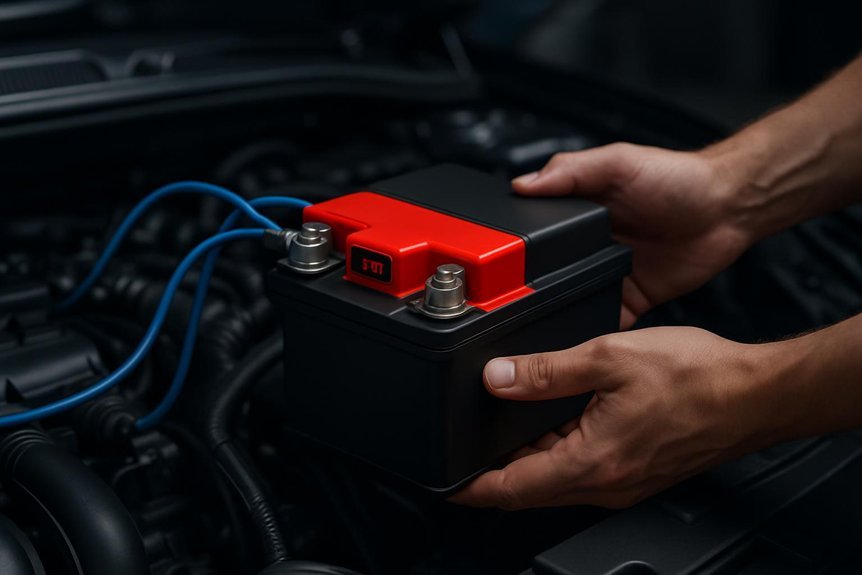
Mount and Place the Battery for Secure Vibration Handling
We mount the lithium starter battery in a secure tray and use the appropriate hardware to minimize movement. We’ll position the unit to resist road shock, then tighten all fasteners to the specified torque. We’ll also apply vibration-damping materials as needed and recheck alignment after initial test starts.
Securely Mount Battery
How should we secure the battery to minimize vibration and movement during operation? We tighten mounts and use factory brackets, then inspect fitment for no play. All fasteners must torque to spec, and hardware should seat firmly without over-tightening. We confirm the battery is seated with the correct orientation and clearances, avoiding contact with metal edges or hot surfaces. Use vibration-damping pads or foam where recommended by the manufacturer, ensuring even pressure across the base. Cable routing stays away from moving parts, and battery terminals are clean and snug. related steps address an unrelated topic for context only, while distance guidelines help position the battery away from heat sources and excessive heat transfer.
1) Mounting brackets firmly aligned
2) Proper torque to spec
3) Damping pads in place
4) Cable routing secured and clear
Minimize Vibration Movement
Where should we place and secure the battery to minimize vibration and movement during operation? We start by selecting a solid, vibration-resistant location, close to the chassis center, and away from heat sources. Then we use vibration isolation materials and purpose-built mount hardware to dampen oscillations. Secure all terminals and cables with strain relief to prevent movement under load. Verify that the battery sits flat, with even contact, and that anti-slip pads are in place where required. Regularly inspect fasteners and mounts for loosening. Maintain clear air flow and avoid contact with moving components.
| Column A | Column B |
|---|---|
| Vibration isolation | Mount hardware |
| Dampers | Fasteners |
| Anti-slip pads | Cable strain relief |
| Flat seating | Tighten to spec |
| Inspection cadence | Replacement guidelines |
Charge, Maintain, and Manage the Battery
Charge, maintain, and manage the battery by following a disciplined routine: monitor voltage, inspect terminals, and test the charging system regularly to ensure reliable starts. We address this with a clear, safety-conscious approach, sharing discussion ideas and focusing on battery safety throughout.
1) Establish a daily voltage check window and record readings to spot drift early.
2) Clean terminals with approved contact cleaner; reseat and torque clamps to spec.
3) Verify the alternator and isolator output under load to confirm proper charging.
4) Schedule periodic full discharge tests only if manufacturer guidance allows, then recharge promptly.
We emphasize precautions, PPE, and ventilation when handling lithium cells, avoiding shortcuts. Consistent procedures minimize failure risk and extend battery life.
Frequently Asked Questions
How Do I Program My Car’s ECU for Lithium Startup?
We program our ECU by verifying compatibility, updating firmware, and calibrating charging system and battery management parameters. We’ll follow safety steps, disconnect power, use proper tools, and test startup performance after each adjustment.
Can I Use a Lithium Starter in All 12V Systems?
We can’t use a lithium starter in all 12V systems. For example, we tested a 12V boat harness; lithium compatibility depends on system voltage, alternator output, and BMS. We’ll verify wiring, fusing, and safety before installation.
What Are Warning Signs of a Failed Lithium Starter Battery?
We’ll answer: warning signs of a failed lithium starter battery include sudden voltage drops and frequent resets; monitor battery health and check for swelling, excessive heat, or corrosion. Watch compatibility issues, and prioritize installation safety throughout diagnostics and replacements.
Will Lithium Affect My Car’s Warranty Coverage?
Yes, lithium may affect warranty coverage; manufacturers vary, so we can’t guarantee. In fact, 1 in 4 automakers reserve lithium-related exclusions. We’ll review warranty implications and liability considerations and guide you through compliant, safety-conscious steps.
How Do I Dispose of Old or Scrap Lithium Batteries?
We dispose of old lithium batteries at approved collection sites, following disposal safety practices and recycling guidelines. We’ll seal terminals, avoid short circuits, transport upright, and hand off to authorized recyclers for proper processing and environmental protection.
Conclusion
We’ve followed every step, aligning the battery with your vehicle’s specs and fitting it as a precise, secure component. Picture the engine bay as a careful clock: cables like hands, clamps as gears, and a BMS watching over every pulse. With proper torque, fusing, and vibration dampening, the system hums smoothly, ready for action. As you monitor temps, voltages, and connector integrity, you ensure safety and reliability, night and day, mile after mile.

